This article is the part of training series for newbies. As in my last article, I told that How to Create a Blog and there is a point to add the domain in hosting and install WordPress on it. So this article is for those who already bought a domain and hosting and finding difficulty for next step which is adding domain in hosting and installing WordPress.
Hello readers, I am assuming you have purchased a domain and hosting from two different company. As I already told you about Best Hosting Provider in cheap cost which is Hostgator.

If you have bought the domain and hosting from same company then don’t worry your one problem is solve of adding a domain in hosting. Domain will automatically get added to hosting if you buy from the same Id in same hosting, just go to the second part which is Installing WordPress.
Check: Simple 5 Steps To Create A Blog
One thing which I already told you that If you are a newbie then you can buy hosting with domain directly.
As in Hostgator, they provide free domain with new hosting Check Here
How To Add Domain To Different Hosting
Please note that this step is only for those who bought a domain and hosting from a different company. And one more thing here is that I am going to use cPanel, which is generally used by most and free in shared hosting.
Step 1st Login To Your Hosting Account
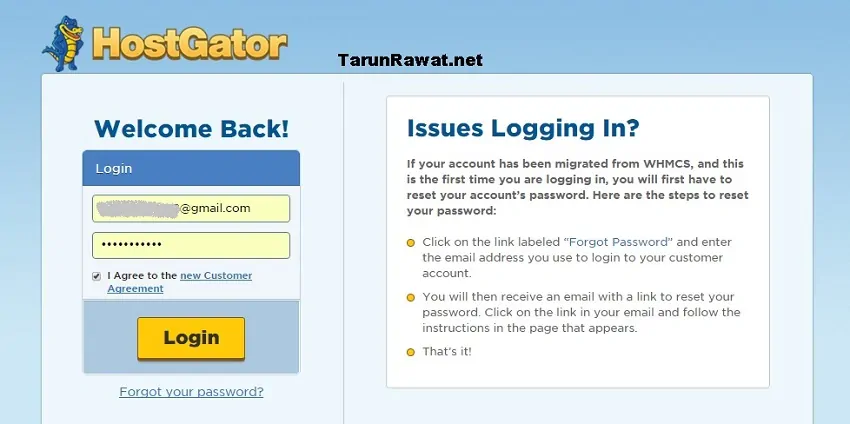
In above image, you can see I am login to my HostGator hosting dashboard. Just enter your register email Id and password.
Step 2nd Select Order

Selecting hosting order. Just click on Manage Order from there click to List/search order.
Step 3rd Click Manage Web Hosting
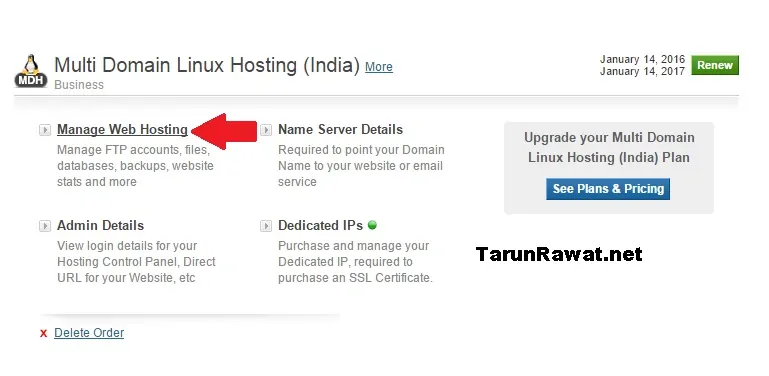
After Selecting your hosting, click on Manage web Hosting. In My case, I have Multi-domain shared hosting which may vary in your case as your choice during the order. Like your might be single domain hosting or it can be VPS or dedicated hosting.
Step 4th cPanel Dashboard
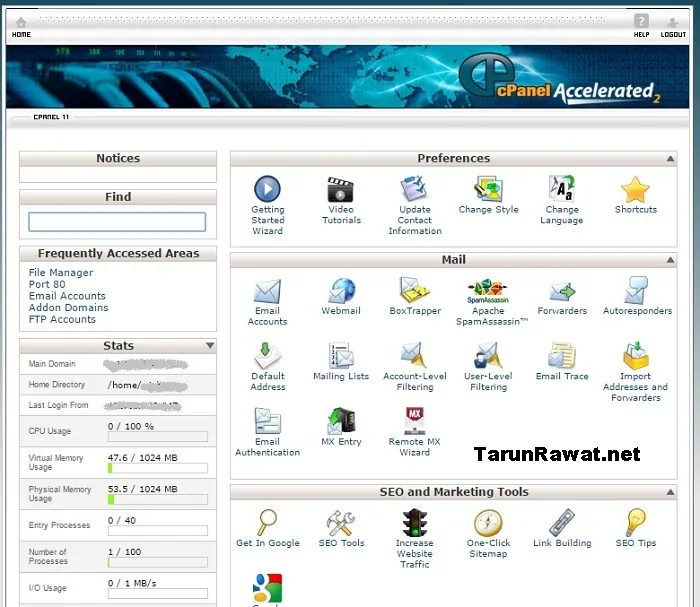
So after clicking on manage web hosting one new popup window will open which automatically login you to your c panel. Please note in shared hosting every company provides free access to cPanel where in the case of VPS and Dedicated hosting we have to pay extra for cPanel.
Step 5th Addon Domains
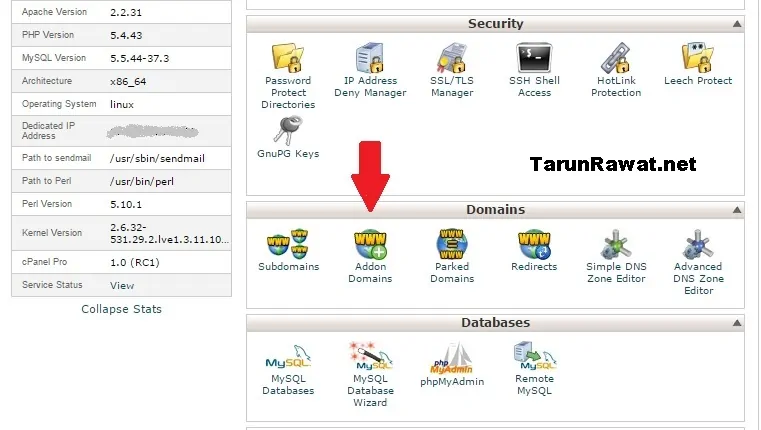
Scroll down in C panel and look for Domains section. In domain section clicks on Addon Domains, as shown above.
Step 6th Fill Details Of Domain
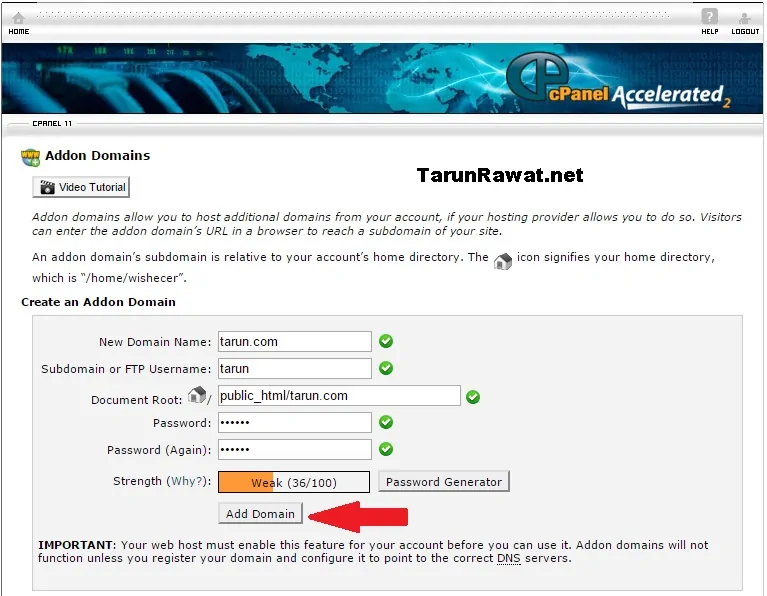
After clicking on Addon Domain, you can see an option like above. Just fill out all the details like Domain name which you want to add in hosting. Don’t Worry about FTP and root address it will automatically fill it. In case you want to change, just edit it.
Put Password which is important when you want to access your site database through FTP (like FileZilla).
And now you are done after clicking on Add Domain button. A screen will pop which will show you the success message of adding a domain in hosting.
So now we successfully added domain in our hosting but still one important step is left which is Nameserver Networking.
Note: This step is only for those who bought a domain and hosting from two different company.
Step 7th Configuring Name Server
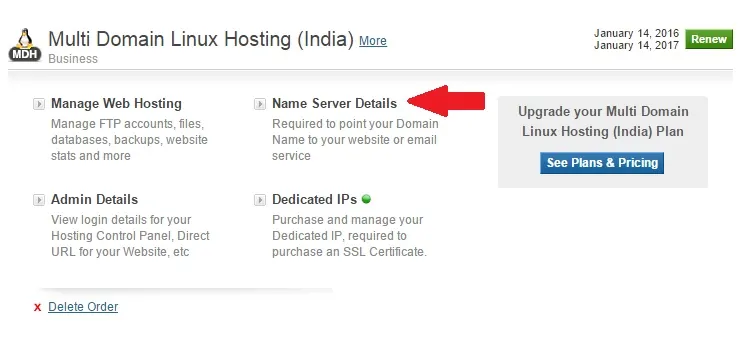
First go to your hosting dashboard. Now, this time, we have to click on Name Sever Details. As shown in Above Image.
Step 8th Copy Name Server Address
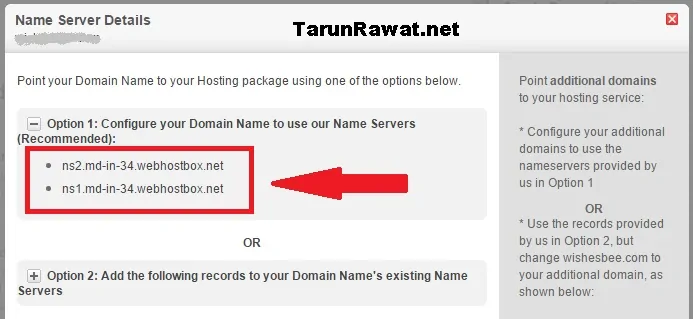
As you can see new popup window will open after clicking on Name Server Details. We have to copy these two name server in our domain name account. So now open new tab without closing this tab or you can copy paste these Name Severs to notepad. So now go to domain name provider company dashboard.
Step 9th Login To Domain Dashboard
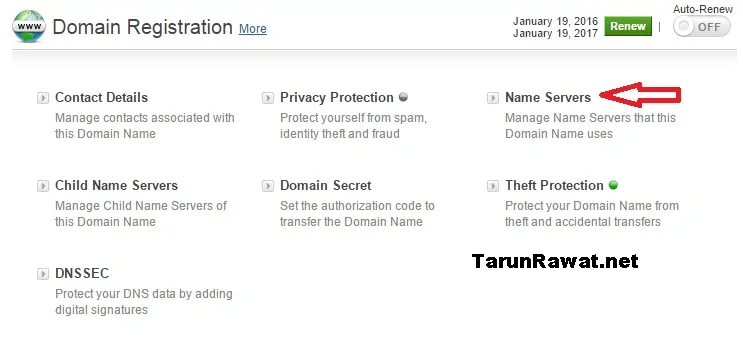
Repeat 1st and 2nd step again for domain name provider company. Now you can see your dashboard, at the top section you can see Domain Registration section as shown in above image. Click on Name Server.
Note: Interface or GUI can be different compare to images
Step 10th Saving Name Server
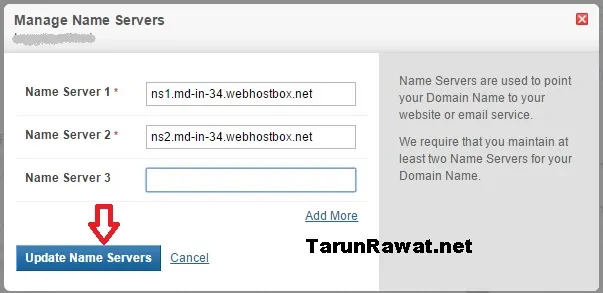
After clicking on Name Server, a new window will pop up with some pre-written address. Change these name server with your hosting name server. You can see above I paste my name server details. Now just hit Update Name Servers and we are done. 😉 😉
Note: Every time when we do some changes it takes 10-15 minutes to get updated.
So have patience 🙂
After 10-15 minute our site is live but it is empty because it does not have anything in it. So Next thing Which I am going to tell you is Install WordPress. If you have planned something else you can do that but here I am installing WordPress as targeting to make a blog.
How To Install WordPress On Domain
I am hoping domain is linked to your hosting and it is working. So now in this step, we will see how to Install WordPress in very easy steps with the help of cPanel.
Step 1st Go To cPanel Then Softaculous
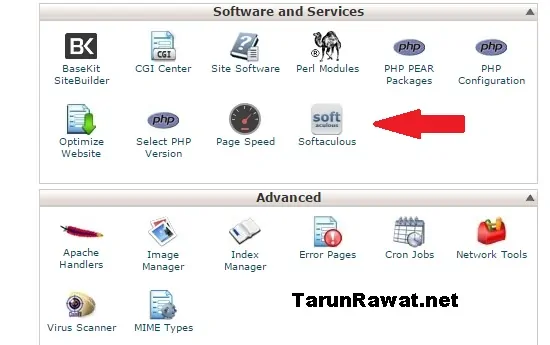
Select the Softaculous option from your cPanel in Software and Services Section. It might be possible that you see an option like install WordPress directly in software and services section.
Step 2nd Click WordPress
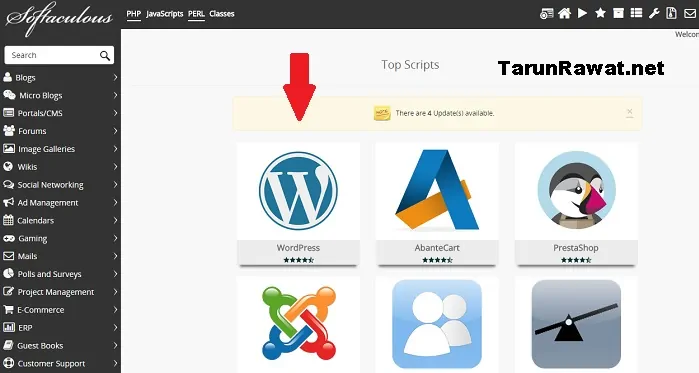
Selecting WordPress in Softaculous Option. Actually, Softaculous is auto installer which having numbers of scripts to perform the different task like here we installing WordPress for a blog or we can install Joomla for an eCommerce site.
Step 3rd Install WordPress
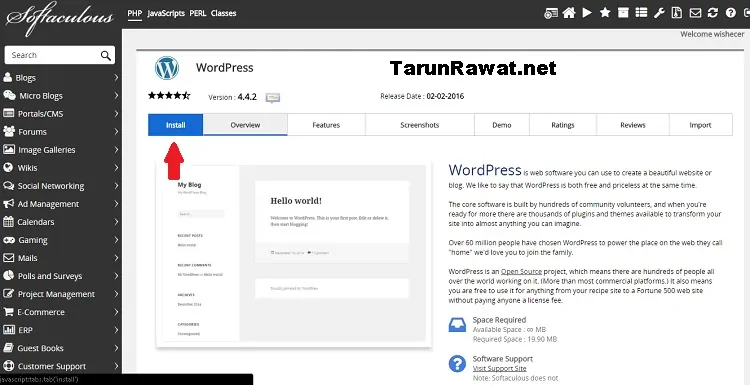
After Clicking On WordPress thumbnail, We see an option like above Image. Select Install option as mark above.
Step 4th Enter Details
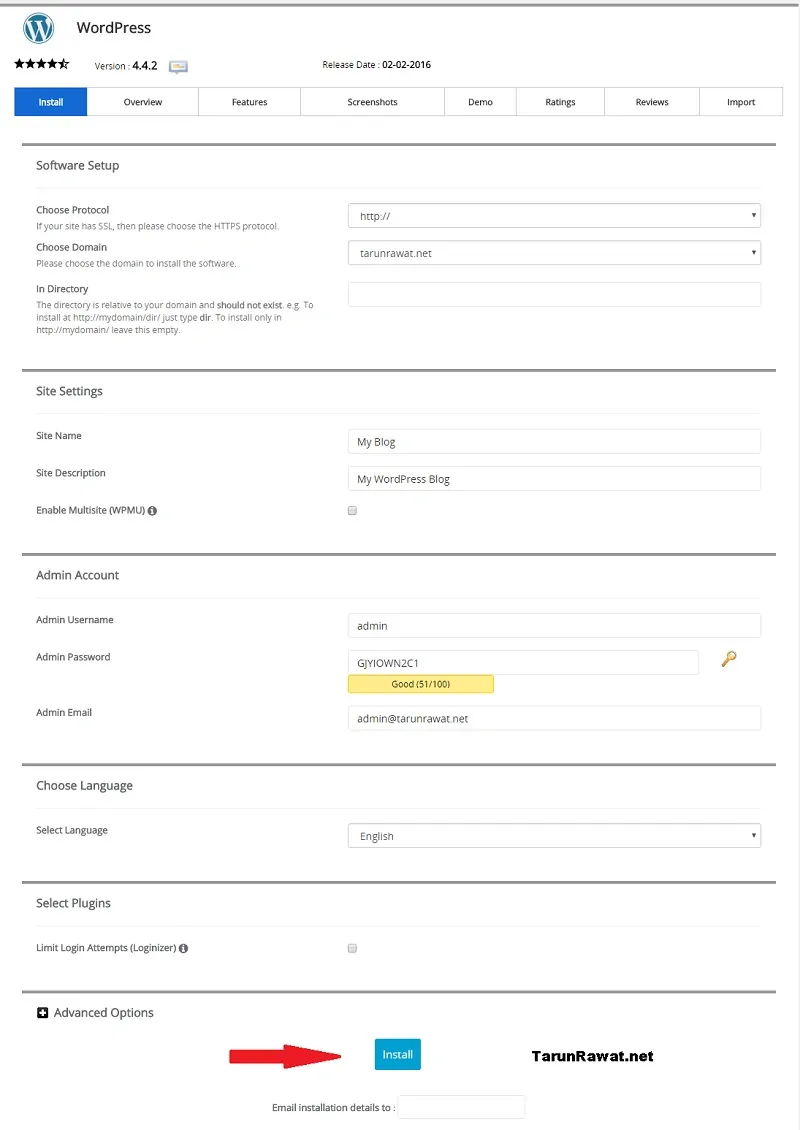
Now this is the last step of Installation. Select Protocol, choose the domain in which you want to install WordPress. Put site name and description then put your WordPress dashboard Id Password. At last, we are done with the general setting and Click on Install button.
FINALLY…. 🙂 🙂
Now you can see WordPress in your domain URL, if not please wait for a minute so that server get updated.
Check: Why To Choose Blogging As Career
Conclusion
So above I clear two things that How to Add domain in Hosting and How to Install WordPress in any Domain. So you are ready to go;) 😉 well If you are a newbie and in doubt that how you going to manage then wait for my new article where I will discuss dashboard of WordPress so that you become familiar with it before using it.
Still stuck with adding domain and installing WordPress or have any doubt please please let me know, I really feel glad to help you. 🙂 🙂